Sunday, November 29, 2015

Ugly Drum Smoker (UDS) Turkey

Besides bikes, another one of my passions -- back yard grillin'!

I particularly like using the Ugly Drum Smoker (UDS) that I built several years back after studying the UDS build thread at the BBQ Brethren website.


We're fortunate enough to still have Mom's house to visit for Turkey Day. As such, I've never had the opportunity to fix a turkey on my own.

Well, this year I decided to pick up a turkey and give it a try on my Ugly Drum Smoker (UDS) (post Thanksgiving) -- just for fun -- no pressure to present something spectacular for the family.

While in Costco (big box store) I grabbed a basic Foster Farms turkey, 17 pounds at about 0.99 cents / pound.

Since this was my first turkey, I didn't want to try anything fancy. Didn't want to mess with brining.

After reading a few threads, I decided to just do a dry rub. Since I was using my UDS (with a flat lid) I needed to "spatchcock" the turkey in order for it to fit. Also a first.

Here are a few pics:
Spatchcocked -- removing the spine with regular ol' kitchen shears. Somewhat difficult, but manageable.


After spine removal, flip the bird over, position legs out to the side, and press down to slightly flatten.

Rubbed with a basic "Texas Style" rub I use on ribs or pork. Lifted the skin from the neck area and accessed all the way down to the drum sticks to put dry rub under the skin. Rubbed the underside and top with olive oil and then applied rub to the exterior.


After 2.5 hours on the UDS running at about 325 degrees F. until the thigh temp was about 165 degrees. Breast temp was a little higher than I wanted, but I think it turned out great. Turkey easily separated into leg/thigh quarters and wings.


Sunday, May 10, 2015

1972 Schwinn Paramount P15-9


Details: 1972 Schwinn Paramount P15-9

Frame size: 22” (measured center to top)
Serial Number G7259 (Indicating this is the 59th frame manufactured in July, 1972)
Additional Note: P2 stamped on bottom bracket shell indicating it was fabricated by Don Mainland at Pioneer Manufacturing in Racine Wisconsin.
Construction: Reynolds 531 frame and fork, Nervex lugs
Finish: Full Chrome

Components:
Bar: Cinelli Giro D’Italia 64
Stem: Cinelli 1A
Bar Tape: Velox Tressostar cotton cloth, red
Hoods: Reproduction (manufactured by Cane Creek, logo Dremeled off)
Shifters: Suntour Barcon bar end shifters
Headset: Campagnolo Neuvo Record
Seatpost: Campagnolo Neuvo Record
Crank: Campagnolo Strada Neuvo Record
Bottom Bracket: Campagnolo Neuvo Record
Chain: Sedisport Grand Tourisme
Wheels: 36-spoke
Hubs: High-Flanged Campagnolo Neuvo Record
Rims (27"): Front, Weinmann; Rear, unk
Tires: Panaracer Pasela 27" x 1 1/4"
Front Derailleur: Campagnolo Neuvo Record
Rear Derailleur: Shimano Crane GS
Saddle: Brooks Competition

-------------

I love a good bike project.

I believe it's a privilege to be given the opportunity to restore a piece of history. (Here's where I get all overblown and pretentious) I also feel it's an obligation -- preserving something that is worthwhile for the next generation to enjoy -- hopeful that the labor and love I put into a project will somehow be appreciated by the next individual to take ownership. With the understanding that these things are mine, only temporarily. That they will certainly outlast me.

Ok... enough... it's just a bike, right? I still love these darn things.

Sometimes the research, digging for information, and piecing together a story is as much fun as the cleaning, repairing, and tuning. As the steel two-wheeler comes back to it's former glory, the final bits are tied together and documented here on the interwebs, a sort of sadness emerges as a project (and story) come to a close. On the up side, I'm left with the memory of the experience, and the satisfaction that I did what I could, within my means, and I have the freedom to take her out and enjoy her anytime I choose.


This Schwinn Paramount journey has been particularly rewarding.

This bike came to me via a local Craigslist ad. The man running the ad was the son of the original owner. His father had purchased the bike brand new in February 1973, right here in my home town - from the shop I used to frequent as a young kid. When the man passed away in 1988, the son inherited the bike and rode it for approximately another 10 years. Since about 1998, the bike has been hanging, unused. It was time for the bike to move on.

(Clicking on any of the pics below will launch a larger picture)

As Received


A medium sized cardboard box accompanied the bike. This is where the real story started to reveal itself. Within the box was all the evidence of how well this bike was loved and appreciated by the original owner. Among the meticulously maintained tools (used, then placed back in their original packaging), spare parts, and repair manuals, were the original owners manual and the original bill of sale -- over 43 years old.


The original toolkit received when new


Toolkit Contents
(I believe a few pieces are missing)
Campagnolo crank bolt wrench, crank puller, chainring wrench, and 3-piece allen wrench. Cinelli 7 mm allen for the stem. Tire levers.

The Original Owners Manual

Original purchase receipt
Identifies the purchase date of 2-8-73, and serial number G7259


Also in the box, the 1972 Schwinn Catalog

Page 7 Showing the Paramount

Full catalog scans are available here from Waterford

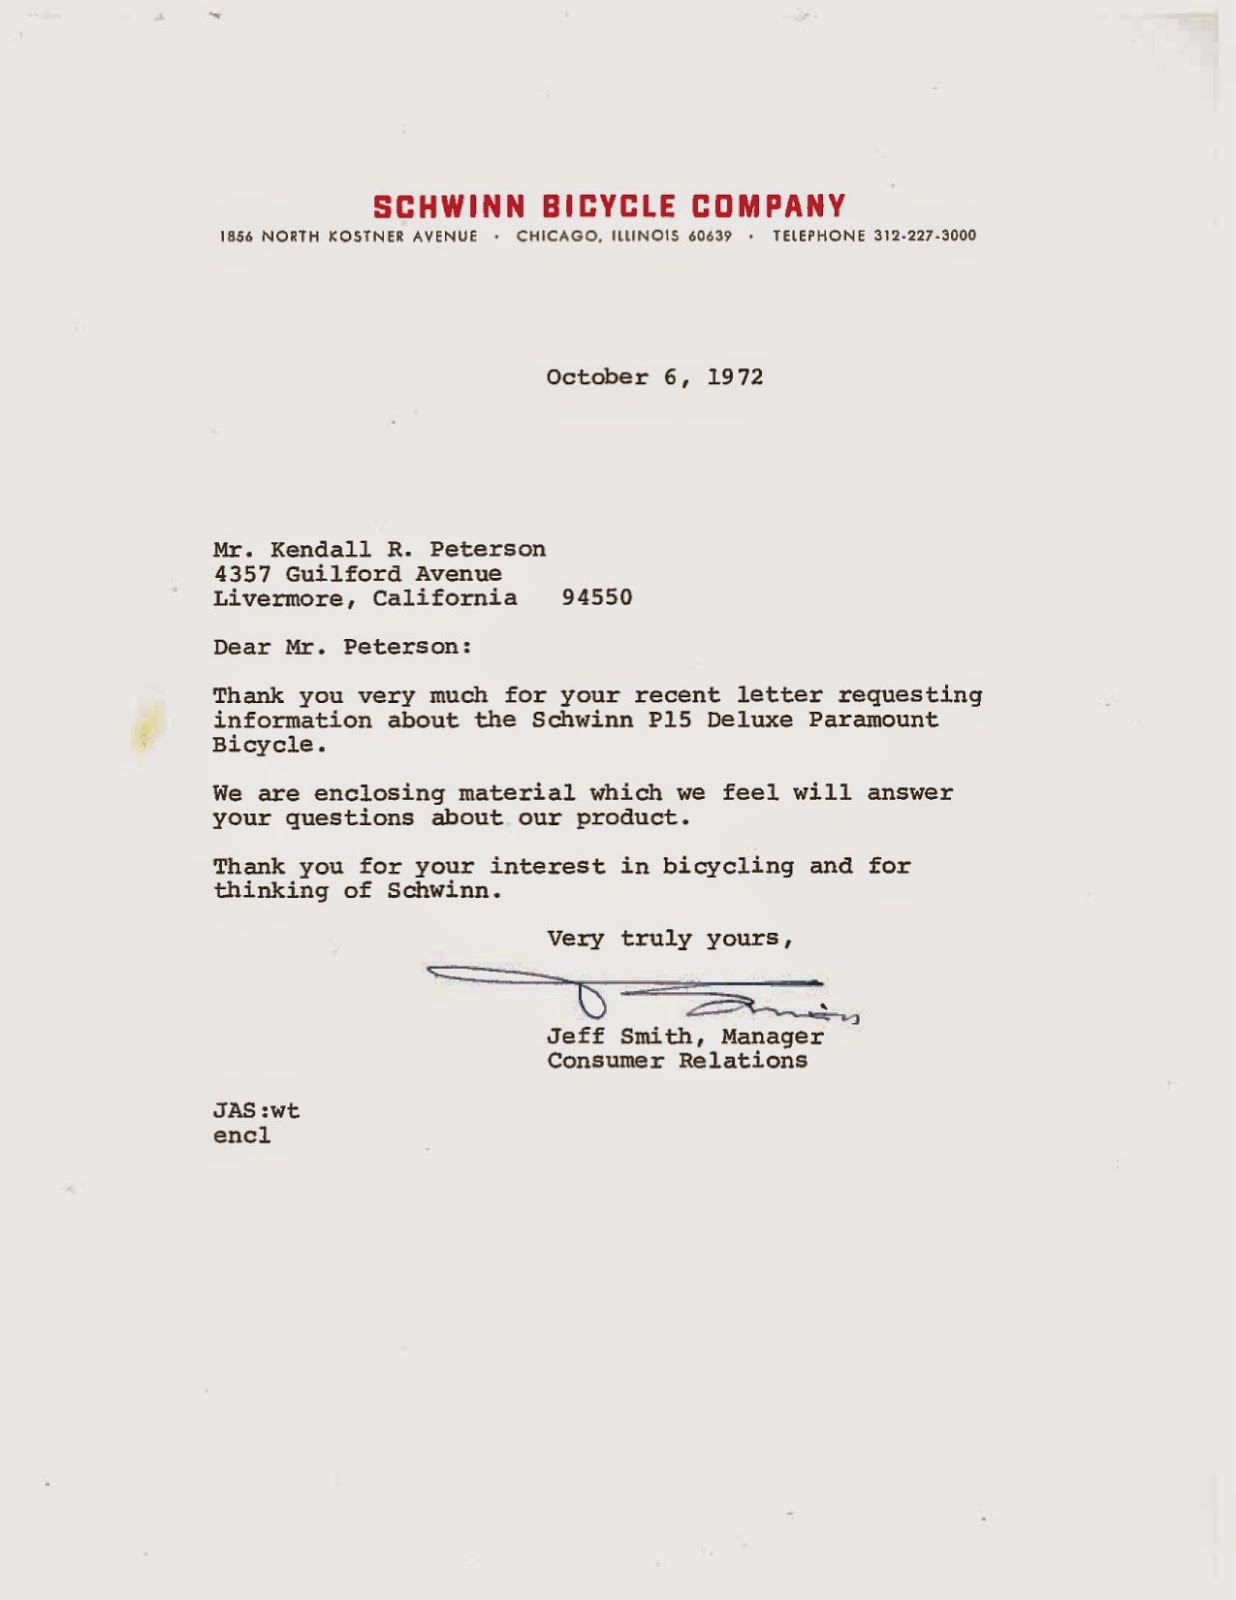
During October, 1972 (prior to making the purchase), the original owner inquired to Schwinn requesting information on the Schwinn Paramount. The following are items received in response, contained in a Schwinn folder. On each page of the 1972 Schwinn Specifications document, were tags stapled prior to mailing indicating, "Factory Production Sold Out. Available January 1973."

Folder Cover

Letter

1972 Specifications (Cover)

Specification Page 2

Specification Page 3

Specification Fit Chart
This may be a bit of a stretch for today's standards. With a 33" leg length, I feel I'm at the max height for this 22" frame. I can't imagine someone with 36" legs riding a 22" frame

Specification Supplement

Some of the other great items contained in the box


I alternated between scouring the internet for the background and history, and cleaning, adjusting, and replacing parts where necessary. Here are the pics as she sits now:


Fork Steerer marked with corresponding serial number


Regarding the “P” stamp on the bottom bracket (from the Waterford website):
Link to Waterford

“This code indicates a Paramount contract built by Don Mainland's Pioneer Manufacturing in Racine Wisconsin. Don was a post war bike racer of note who started a number of manufacturing businesses in the Racine area in the 1950's, becoming a Schwinn supplier during the bike boom. He supplied the 1972 Olympic frames, Schwinn Superiors in the early 1980's and tooling used throughout Schwinn's manufacturing facilities all the way to 1990.”

More on the Don Mainland connection from the Waterford website:

“Starting in 1971, Schwinn outsourced excess Paramount production to Pioneer Manufacturing of Racine, Wisconsin, owned by Don Mainland. Don was an accomplished bike racer as well as successful industrialist. After racing in the midwest, he raced in Japan’s Kierin circuit in the early 50’s. He then returned to the US, where he set the coast to coast cross country record, which stood for eleven years. Don’s firm supplied the 1972 Olympic frames and Schwinn Superiors during the 1980’s. His tooling firm supplied Schwinn’s manufacturing all the way until 1990 in Mississippi.”

And:

“During the 70’s, Paramount sales rose to 1,200 units annually. Schwinn supplemented Paramount production with contract-built frames by Don Mainland and Roger Nelson. Don and Roger, both riders from the 40’s and 50’s, had built up a successful tooling business in Racine, Wisconsin. He already supplied tooling to Schwinn. At Paramount’s peak in the mid-70’s, 10 frames per week came from Wisconsin and 15 from Chicago. There is no obvious way to distinguish the Wisconsin-built Paramounts from those built at the Schwinn factory. Serial numbers were issued after the bikes were built.”

However, I'm told that a Schwinn bulletin dated 8/30/72 concerning Paramount production states:

"The demand for these top of the line models has increased dramatically as more and more adults are becoming interested in cycling and we therefore plan to increase production from 3,400 units this year to 5,200 units in 1973. This represents a 52.9% increase over 1972 and there should be enough bikes for all dealers without the necessity for allocation if discretion is used in ordering."

I tend to believe the latter as this serial number registry identifies several examples of serial numbers that indicate monthly production in the 200-300s.

-----------

Well, personally, I don't think that the pictures do this bike justice. The pictures still show a lot of the discoloration (rust) on the lugs and hard to reach places. I suppose the pictures are more accurate than my perception though. For the most part, I think I'm done. The downtube decals are mostly gone. I could add reproduction decals, but sometimes I prefer the original patina to remain evident. For now though, all that's left is to ride it and enjoy it.

I will close with a few more pretentious thoughts -- This bike will always belong to Mr. Peterson. I will have the privilege of enjoying it for the time-being, until my family decides that it's time for the bike to move on. I will update this page periodically as we have a worthwhile journey or two to share.

A few pics from a little "mixed terrain" wine country shakedown ride:


Saturday, February 7, 2015

DIY Handlebar Bag and Support Rack


I recently finished the renovation of a 1983 Specialized Expedition (see blog post here) and completed my first two randonneuring events on her. Looking around the field of rando bikes, I became envious of the beautiful oiled canvas and leather handlebar bags that were common. The bags seem very useful for carrying easily accessible extra clothing layers, food, camera etc. on these 200k+ rides. Studying the intricate details of everything involved, I came up with this short list of requirements to pull it off successfully:

Small front rack -- similar to the Nitto M12 or Velo Orange Pass Hunter (these two options would fit my bike outfitted with cantilever brakes) ($80-$100)
Decaleur -- a bag support device that is mounted to the stem/headset and serves to stabilize the load. ($75-$100)
The Bag -- a nice oiled canvas bag with leather trim. For me, something in the 10" x 8" x 8" size would be ideal. ($150-$250)

After researching all the options and scouring forums for information, the list above seemed to be the most common, no-nonsense, accepted combination of gear.

While doing the math, I soon realized I would have nearly the amount of money tied up in getting this bag mounted as I spent on the initial bike purchase. While I'm not opposed to spending a solid dollar on bike gear, I just couldn't help wondering if there was another way to achieve what I wanted.

During a Google search, I stumbled upon the following thread: bikeforums.net

I thought I would give it a go myself. If all else fails, I'll throw down $300 - $400 and get the proper set up. But for now, I'll take a chance of throwing a few bucks at something I might be able to pull off with some degree of success.

I hit the hardware store and grabbed the following:

1/4" x 4' steel rod

3/8" ID vinyl tubing (x 1') (They actually gave me about 16" and I just left the entire piece whole)

1/8" x 3/4" x 3' flat aluminum (cross, support pieces)

1/16" x 1/2" x 3' flat aluminum (for stablizing strut -- only about 8" is needed)

The total cost for the above items was about $14


I measured and marked the center of the steel rod, then measured and marked the center of the clear vinyl tubing. I slid the tubing over the rod and lined up the two marks. Now the vinyl tube was exactly centered on the center of the steel rod. With the center of the rod clearly identified, I began by first bending the rod and making a "U" shape with the center mark at the very bottom of the U. (To make the bends, I slipped a flat mountain bike handlebar over the steel steel rod, directing the end of the handlebar to the point I wanted the rod to bend.)

Using the actual bike as a template, I slid the U shaped rod under the stem, with the two long sections of rod resting over the top of the handlebars and pointing forward. The next step involved bending the legs of the bracket downward. I pushed the rods downward, until they were parallel with the head tube of the frame. The last bend I needed to make was for the shelf, where the bag would eventually rest.

I eyeballed a point on the fork crown, where the fork is drilled for a brake or fender attachment. This is where a support "strut" would be tied to the rack. I wanted the platform or shelf of the rack to be in-line with the support point. I marked a point on each leg of the bracket that was in-line with the mounting point on the fork crown. I bent the rod upward, to roughly 90 degrees from the previous bend to establish the shelf or support arms.


I wanted the bag secured to the rack rather than the handlebar to keep as much of the handlebar free for hand positioning. I used the flat aluminum to build the bag attachment points. I made a 10" piece for the vertical (back) support, and two 6" pieces for the base. Each piece is secured to the rod by a 3.5" backing plate. The strut that attaches to the fork (to limit fore/aft movement) was cut from the 1/16" x 1/2" flat aluminum. (There's a scrap piece of the support shown on the far right that's 3.5" long. If you do your math better, you could end up with no scrap).


The strut, bent with an adjustable wrench and drilled. Proper length determined during test fit.


I cleaned the pieces up with a dremel tool to remove the sharp edges then hit them lightly with 0000 steel wool. Hole drilled in the center of each piece and then assembled using allen head bolts similar to the rest of the stuff on your bike.


Here it is assembled with about 4" cut from each leg of the "shelf"


I visited the local outdoor sporting goods store that has a small "army surplus" section to find an appropriate canvas bag. They didn't have anything with worn character that would suffice, but they did have canvas tool bags. You can get these on-line for about $15 (Google "Military Tool Bag"). They measure 11" wide, x 7" tall, and 6" deep. As a youngster in the Air Force, I used one of these bags everyday working on F-4E fighter jets -- so I have a bit of nostalgic connection that adds to the enjoyment.


The bag needs a stiffener to give it shape. After a week of searching for free coroplast I gave up. I had never heard of coroplast until I started this project. During my research I discovered that it is fairly common to use, even in the expensive bags. I'm guessing it's short for "corrugated plastic". It's the stuff that election signs are printed on. They also use it a lot for real estate signs showing where the new developments are. I broke down and bought a 36" x 36" sheet at the hardware store for $8 bucks.

The flat aluminum support piece mounted on the vertical part of the rack is 10" long. I drilled two holes 8" apart to attach the bag. I marked the bag at the hole locations and hit them with a punch and hammer to make a hole in the canvas.

Checking fit, here it is with the back support attached to the bag (still no coroplast stiffener installed).


I found these "T" nuts at the hardware store. Looked like they would be good for biting into the coroplast and securing the bag to the rack.


Now, for the coroplast

Measured....


Cut....


Folded into a box shape


And installed in the bag


And finally....mounted to the rack


There are a few more finishing touches that can be done -- such as adding Velcro to secure the bottom of the bag to the shelf (done). I also have an idea for the handles on the bag. I was going to cut them off. But my new idea is to cut them in the center and then add Velcro. They can serve as Velcro straps across the top of the bag for securing items to the exterior of the bag. So, it's not quite finished, but it's pretty well functional as-is.

Here it is after it's first test ride -- a 200k brevet with the Santa Cruz Randonneurs. Santa Cruz to Gonzales CA and back 200k. No problems.


If you made it this far, thanks for reading.

Edit (3-5-16):
Two "updates" I've been planning for the bag; first -- converting the tool bag handles into a Velcro strap for securing things to the top / exterior, second -- waterproofing the exterior of the bag.

First -- the Velcro straps:
The bag has two handle straps that are attached front to rear of the tool bag. I found the center of the strap and cut it with the sturdy scissors.


Now, I have four straps -- two on the front of the bag, and two on the rear. I want the straps to go across the top of the opening when it's done, so I've paired the straps and attached Velcro like so:

This is how I want the bag and straps to function when complete:

Here's my sewing kit I had around from a previous project, and the Velcro I bought from the big box hardware store. This worked really well.

Second update -- waterproofing.

I found this Instructable while searching the web for "diy waterproof canvas." It calls for
blending wax (preferably bees wax) with linseed oil. The author indicates the toilet ring is a good source for bees wax. Maybe a hundred years ago, but not anymore. I was in a hurry (impatient) and was having trouble easily locating a local source for bees wax, so I went ahead with the toilet bowl ring.

Here I am melting the wax toilet bowl ring.

PRO TIP: Don't do this while the wife is home, and don't ever mention it.


I was afraid to add the linseed oil to wax inside the house with the goo on the stove. So, I heated the wax and moved it to the garage to add the linseed oil. Not ideal, but...

Here's the finished product, waxy mess applied, dried (mostly), and reassembled: